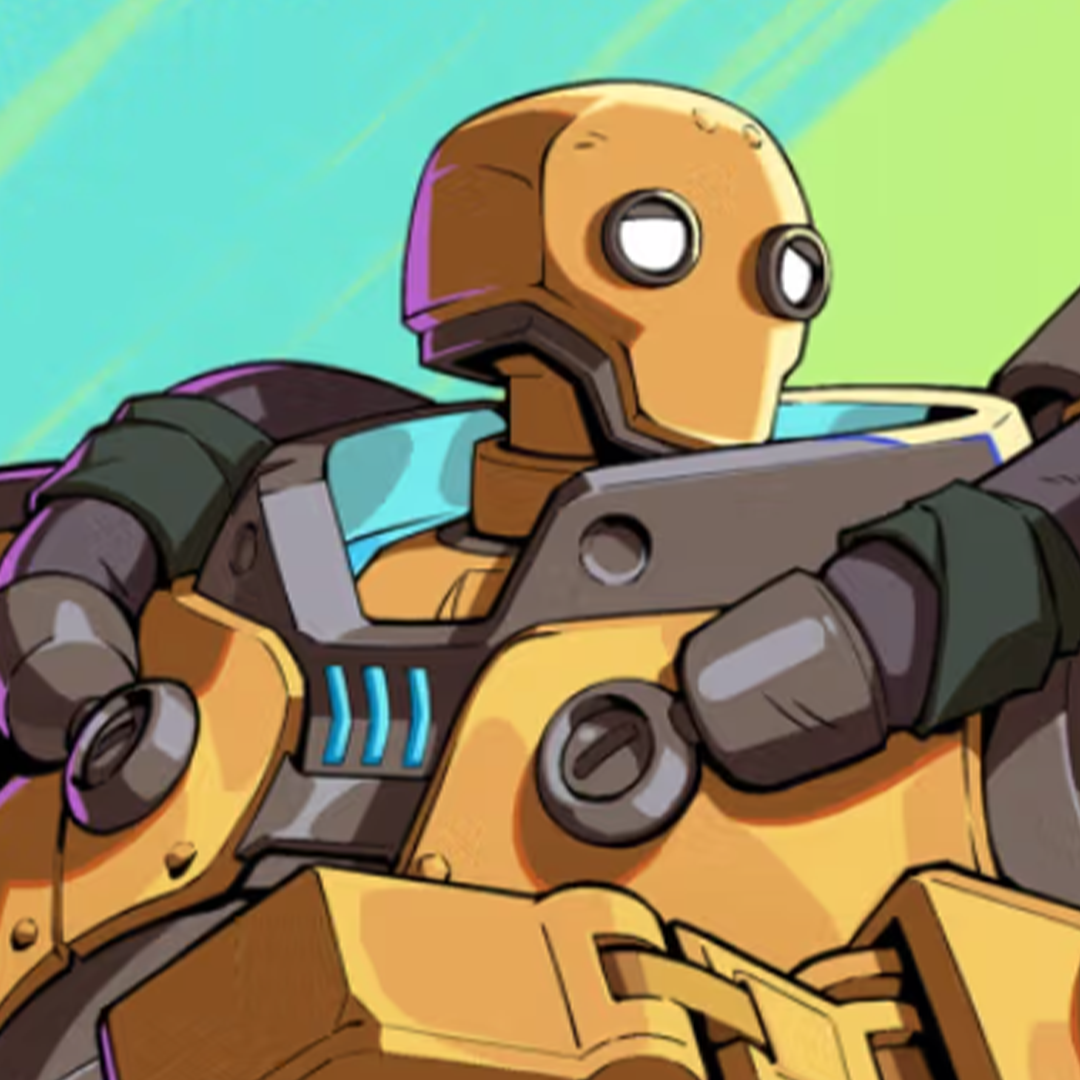

OVERVIEW
Blitzcrank is a grappler with a bad neutral and terrifying offence. He is one of the slowest characters in the game, he has no real answer at range, and most tier lists put him near the bottom — but he is also close to a two-touch character. If he gets his hands on you twice, the round is usually over.
Play him honestly and the plan writes itself: avoid playing neutral with him wherever possible. Win the neutral with your other character and tag Blitz in when you are already on offence, so he gets his strike/throw mix without having to earn it.
Tip
Blitzcrank is frequently written off as a support-only pick. He genuinely does have a weak neutral — but a large part of what makes players lose with him is treating the command grab as the plan rather than as the payoff.
STEAM & THE COMMAND GRAB
Steam is his unique meter, and having it up should be close to a permanent goal. You build it by charging S1, landing command grabs, using wrecking ball, or with S1 super.
With Steam active:
- He moves roughly 10% faster
- His command grab gains armour — and that armour is frame one, which makes it a legitimate reversal
- His hook gets faster, beats projectiles, and converts into a full combo
- Charged S1 comes out slightly quicker than the raw version
Tip
Hold the S2 button while you have Steam to add extra hits. Small, free damage that a lot of Blitz players never use.
His command grab is the win condition, but landing it is a reading exercise rather than a button. Watch how your opponent wakes up — get-up attack, roll, jump or mash — because he has a clean answer to each:
- They roll (either direction) — dash twice into command grab is guaranteed. Dash auto-corrects, so you do not need to hold a direction
- They get-up attack — wait it out and take the full punish. Bait it by dashing twice to fake the grab, then blocking
- They jump, grab or mash — single dash into 2M, or dash and press lights. Neither needs tight timing
Tick throws are the other half. Slip the grab in between lights, on the first hit of 2M, or after a stray wrecking ball. It is not bulletproof — vary the timing so you are not readable.
NEUTRAL GAME
His neutral is about walking people down until they run out of room, and being deliberate with every button.
- 5M is huge and carries a little forward momentum. It is his best tool for stuffing an opponent trying to dash in, and it can cancel part of a back dash animation
- 2M has double the active frames — use it when you do not want the forward movement
- Lights are the safety option. Both mediums are −5 on block; standing light is −2 and crouching light −3. You trade range for safety
- 2H is the universal anti-air. Big, but slow. Anti-air them high and you reset neutral; catch them too low and you will likely get punished
- S2 destroys projectiles. If they are too far to hit, cancel into charged S1 to build Steam, or dash out to cut the recovery
You do not always have to approach. Charging Steam forces them to come to you, which is the situation you actually want.
One habit worth building regardless of character: constantly ask what your opponent’s threat range is from where you are standing. Is there anything in their kit that stops this approach? With a character as slow as Blitz, guessing wrong is expensive.
CORE COMBOS
Button Legend
The good news for anyone picking him up: his combos barely deviate. Most routes are the same shape with small variations depending on which hit you land first, so the hard part is landing the hit, not converting it.
Midscreen there is a damage-versus-consistency choice — skipping the medium before the regrab does more damage but is harder to time. In the corner it is the same route with a command grab tacked on the end. If you have Steam, work an S1 in before the finisher.
Both his mediums lead into essentially all of his bread-and-butters, which is why 5M and 2M are the buttons worth drilling.
ADVANCED TECH
The retreating crank is the single most valuable piece of Blitzcrank tech, and most players never learn it.
Normally, back dashing and charging Steam are separate actions with a visible gap between them. A retreating crank removes the gap: back dash, and before the back dash animation finishes, hold S1 to cancel into the Steam charge. The transition becomes seamless.
What it buys you is threat. Because you are cranking out of the back dash, you can immediately anti-air, punish an approach, or fire off a surprise rocket grab or rocket punch. Functionally it is faking a punch to make someone flinch — and when they flinch, you capitalise.
- Timing: back dash just before Blitz’s left arm passes his right. If you prefer an audio cue, input it the moment he speaks
- Drill it in stages: a single back dash first, then two, then at random intervals, then mixed into dash-dancing — which is how it actually appears in a match
- Do not do it on every back dash. Sometimes you want the full charge instead. Look for openings created by moves like Yasuo’s S2, a Darius projectile, or Jinx setting traps
- Note: once Steam is fully charged you cannot retreating crank — but you can still fake the move
- Careful against Thresh, who can convert on you from full screen
Two more pieces worth knowing. Forward S2 into command grab cancels the start of the move and carries you forward, letting you grab from much further out — excellent for chasing someone down in a block string. And midscreen, if they roll back after a command grab, you can cancel into level three to catch them. It is hard, but it exists.
On defence in your own block strings: crouch medium catches retreating guard, and if you read a push block, hook them straight back into pressure.
TEAM COMPOSITION
Blitzcrank is one of the best assist characters in the game, and that is a strength rather than an insult. Both of his assists are excellent.
His forward assist pulls the opponent in during your block strings for extra mix, and critically it ignores retreating guard and push block entirely — the two things that normally end your pressure. Whoever you pair him with, he can also finish their combos.
Partner options split by what you want to fix:
- Ahri or Teemo — characters who win neutral for him, so he arrives already on offence. This is the pairing that addresses his actual weakness
- Illaoi — a double big-body team that struggles to win neutral, but flattens people once it does
The Illaoi pairing has a genuine trick behind it: it is the only team in the game with a true unblockable setup. Time Illaoi’s command grab to land at the same moment as Blitz’s air command grab and the hit is free.
For fuse, Double Down is generally his best — he combos into other supers cleanly for a lot of extra damage. Freestyle and 2X Assist function, he just gets less out of them than most of the cast.
VIDEO RESOURCES
No Blitzcrank video breakdown on the channel yet — when one goes up it will be embedded right here. In the meantime: