
OVERVIEW
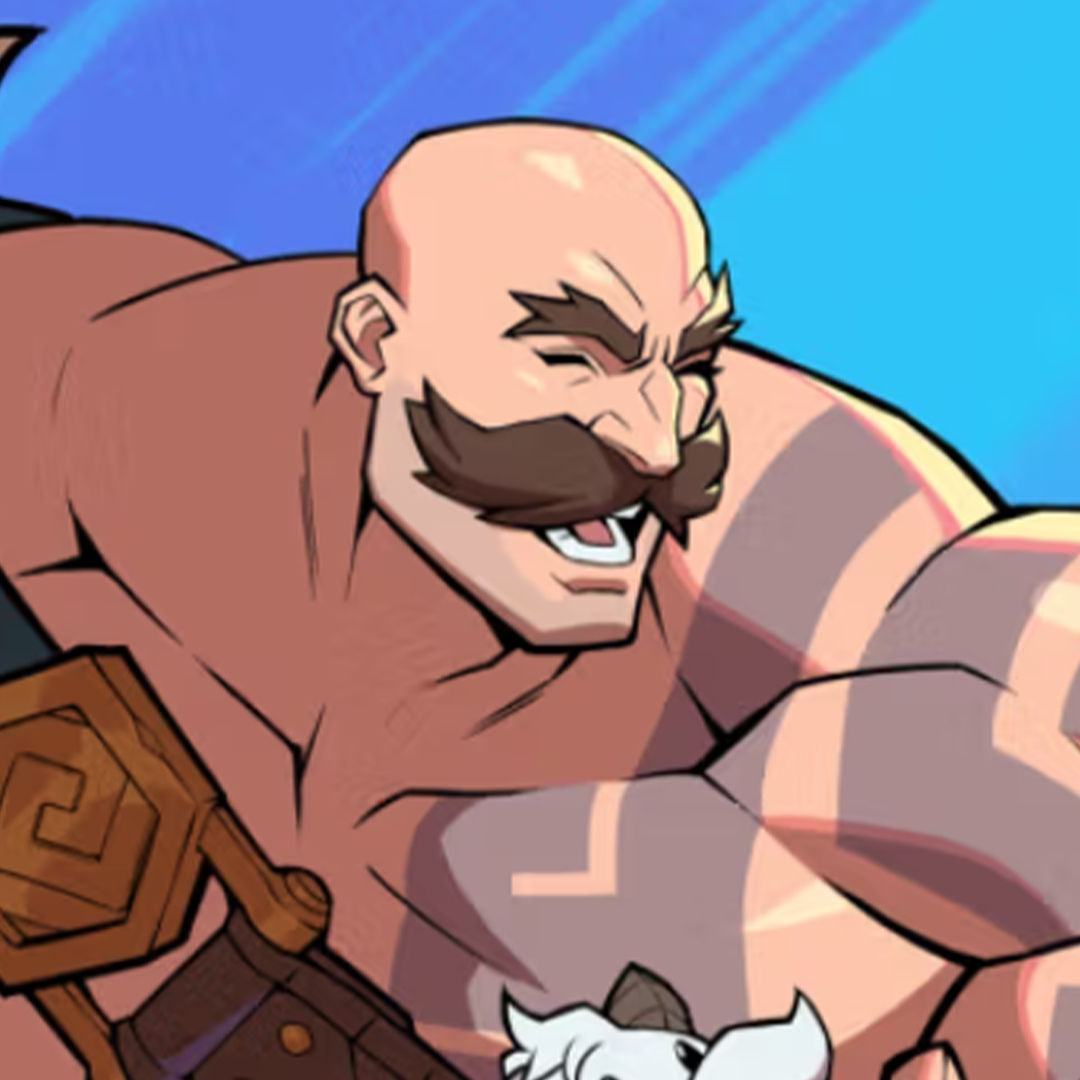
Braum is a big-body bruiser with enormous buttons, a shield that eats projectiles, and one problem that defines the whole character: opening people up.
Anyone decent will simply crouch block against a Braum who only presses buttons. His damage is huge and his pressure is genuinely frightening once he gets going, but none of that matters until you add an overhead and a command grab to your offence. Get that right and he converts a single opening into more than half a health bar.
Tip
If you are losing with Braum against good players, it is almost never damage — it is that they are crouch blocking everything you do and you have no answer. Fix the mix before you optimise anything else.
UNBREAKABLE & MIXUPS
Unbreakable is his ice shield, and Braum with it is a genuinely different character — armour on his shield moves, wall splat conversions off his neutral skip, and a projectile that gives a full combo.
Applying it: S2 into S2, his command grab (down S1), S2 super, or down S2. That last one is the important one, because down S2 applies Unbreakable even on block.
Spending it: the S1 projectile, S2 into S2 for a corner-carrying slide, down S1 for a full combo, or down S2. Note the asymmetry — the others do not get consumed if the opponent blocks them, but the down S2 versions do.
Tip
Once you have conditioned the opponent not to mash between your strings, start pressing down S2 in block strings. It is the only move that gives him Unbreakable on block, and if they are not punishing you for it there is no reason not to be doing it every time.
The mix itself. His overhead is forward-down medium, and he has a command grab. Both go into a block string, but the order matters:
- Use down medium into standing medium. Do it the other way round and both whiff, and you get punished
- From there, the overhead connects immediately unless they retreating guard
- Or delay and go for the command grab — the delay is what gets around the game’s grab protection
Converting the mix. Without Unbreakable, follow the overhead or grab with an assist, then S1 super, then handshake tag — the shield explosions keep them held while your partner dashes in for the combo. With Unbreakable, down S2 after the overhead gives you the ice-only special and any route you like, and the command grab simply freezes them.
NEUTRAL GAME
Braum has no real neutral control, so most of his tools are about closing distance or refusing to lose ground.
S2 is his neutral skip — and the honest advice is to use it less than you want to. It has a lot of counterplay: opponents can back dash repeatedly to make it whiff, or step in and block it point blank where it is minus enough to punish. Save it for when they are not ready, or use it to react to fireballs, since the shield is projectile invulnerable. The rest of the time, practise dash blocking your way in.
Poros (forward S1) are the most slept-on move in his kit. The numbers are excellent on hit and on block, and both the raw and charged versions start up quickly. Charged from full screen it is very plus on hit, and the block stun is high enough that you get to dash in behind it. It works as an anti-air, as a full-screen projectile, and as an answer to opponents who like to parry or reversal during your pressure.
Crucially, a poro as the first hit of a combo barely scales, so catching someone disrespecting it leads to enormous damage. Just do not spam it — it is slow enough to be reacted to.
Other full-screen answers: raise the shield to block a wave of projectiles outright, use charged S2 plus assist from a surprising distance, and punish an unsafe assist call with S1 super.
CORE COMBOS
Button Legend
His midscreen combos change with distance, which is the main thing to internalise. Up close you can fit two down heavies. From further out those whiff entirely, and even the run-up medium can whiff if you get too close. The reliable rule of thumb is to combo into down-forward heavy and route from there.
With Unbreakable, route into S1 off heavy or down-forward heavy and then run your normal combo — it upgrades the same routes rather than replacing them.
For the tag launcher, charged heavy into S1 works midscreen; spend a bar there to cash out with extra damage and apply Unbreakable, or leave it at S1. In the corner, if you have not used a wall or ground bounce yet, fully charged heavy into S2 into heavy into jump S1 works — and because the S2 carries so far forward, you can start it from a surprising distance.
ADVANCED TECH
Back S1 — the shield — is the other badly underused move. Its best use is not defending yourself, it is covering your assist. Call the assist, raise the shield in front of it, and if the opponent presses a button they hit the shield while your assist connects — active tag and take the full combo.
Pressure with Unbreakable is where he really works. Everything that uses the shield has armour, and his buttons are big enough that you can swing from a distance. Medium and forward heavy are the go-tos. Down-forward heavy is strong, and while it is punishable point blank, spacing it out makes it very hard to answer — often you can simply swing again and punish their attempt.
Tip
Armour does not beat throws. Every armoured move he has, including the S2 super, can be grabbed straight out of it. That is the main reason to sit at the max range of his medium rather than in their face.
Oki, always in the corner. Ending on S2 S2, delay your medium and then swing: it punishes a get-up attack, and hits meaty against a roll-in. Against a roll you can react with the grab, which is a full combo if you have Unbreakable. Once they start respecting all of that, go back to the overhead or the down S2 low — and note the overhead combos into the low, so you get a full combo rather than a knockdown.
TEAM COMPOSITION
Braum’s assists are strong and unusually varied, which makes him a good partner as well as a point character.
- Forward assist — extends pressure and resets it, extends combos on hit, and eats projectiles since Braum walks straight through them. With Unbreakable it wall bounces
- Back assist — the shield. Use it exactly as you would use back S1 on point: covering jump-ins and tight defensive moments so your point character can punish
- Super assist — an excellent get-off-me. If you play a zoner like Jinx and a block string starts going badly, it resets the opponent to full screen and hands you your game back. It also works in combos and OTGs for corner carry
His supers each have a job. S1 super clears the screen, deletes projectiles and punishes assist calls — but it can be parried, and the opponent only needs to parry one wave to make it disappear. Because his corner pressure is so much better than his midscreen pressure, ending midscreen combos with S1 super is usually right: it does big damage and carries them to the corner where you actually want to be.
S2 super is a get-off-me with one hit of armour even without Unbreakable, useful for calling out a gap in their block string. Fast attacks in your face will break that armour, and it can be grabbed. His ultimate is straightforward but has a deceptively large, tall hitbox that reaches much further than it looks.
VIDEO RESOURCES
No Braum video breakdown on the channel yet — when one goes up it will be embedded right here. In the meantime: