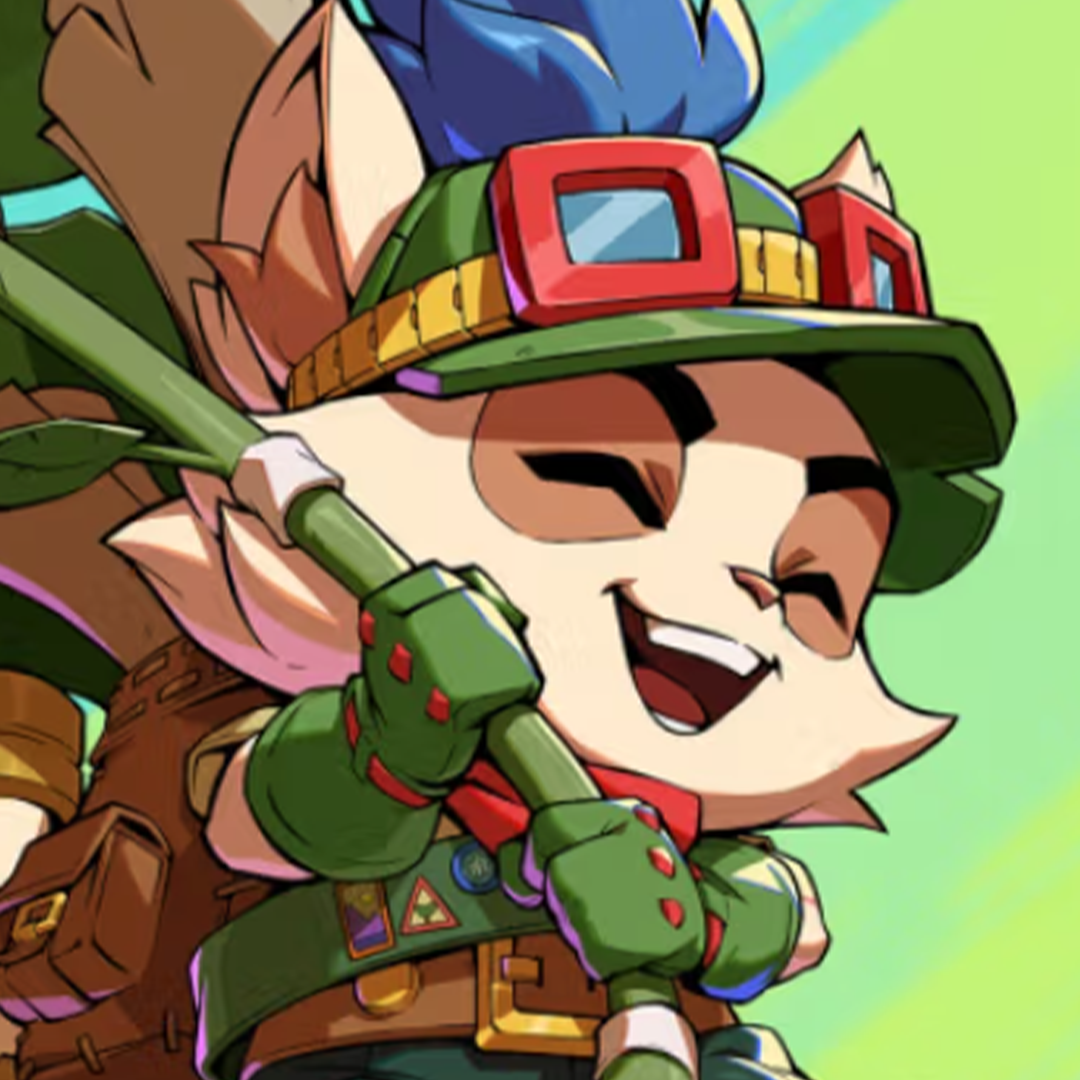

OVERVIEW
Teemo is a trap zoner built to be irritating. Shrooms, darts, slingshot rocks, a bush he can teleport into, invisibility and a parachute — his kit is a pile of gimmicks that add up to genuine screen control.
What separates him from a normal zoner is that his projectiles upgrade during the match. He is playing a second game alongside the fight: stacking hits toward his badges. Play him well and by round two your zoning does poison damage that the opponent cannot block.
Tip
Teemo has two free movement mechanics people forget. Hold up in the air for a parachute that slows your fall, and hold down on the ground to go invisible for about two seconds — it breaks when you attack.
TRAPS & BADGES
Noxious Trap is the shroom. It sits for about seven seconds, or until the opponent gets close and it detonates. They can hit it to deactivate it — which is fine, because that is time they are not spending on you.
The shroom is also a bounce pad. Slingshot rocks bounce off it, other shrooms bounce off it, and Teemo himself bounces off it with an air down heavy. You can reposition a placed shroom with down-forward heavy (Treasure Hunt).
Sharpshooting Scout is the slingshot, firing a bouncing rock forward or upward. Guerrilla Tactics plants a bush; input it again and Teemo teleports to it. Stand in the bush and he turns invisible until he attacks or leaves it. The bush can be set on fire by his own fire moves — air down heavy or an enhanced slingshot — and while it is burning he can hover above it indefinitely on the parachute.
Tip
Badges are his real progression. Land 10 shrooms and yours become poisonous, adding damage and unblockable tick damage. Land 12 darts and they poison too. Land 5 slingshot rocks and it fires flaming rocks with more damage and hit stun.
Steer your gameplan toward whichever badge you are missing rather than playing the same pattern every round. His standing light is worth knowing here as well: it fires up to three darts and still cancels into other attacks, which makes it both his best combo starter and his fastest badge builder.
NEUTRAL GAME
The opening pattern is simple: shroom into slingshot. Both stay on screen long enough for you to place more — another shroom, or a bush.
From there, jump and throw shrooms so they bounce off each other and travel toward the far side of the screen. At full screen he is effectively unpunishable, so keep the slingshot going: a jumping slingshot reaches full screen, and if it does not, bounce it off a shroom. The point is to force them to stop clearing your shrooms in order to block the rock, at which point the whole sequence resets.
Be honest about the holes:
- With no shrooms out, the slingshot is punished by going under or over it
- Darts are strong at mid-range but if the opponent jumps, you get punished
Both weaknesses are covered by assist choice, which is why his team matters more than most. If they reach mid-range, hold them off with lights and convert those into full combos.
CORE COMBOS
Button Legend
His teamless bread-and-butter works from essentially any range, which is unusual and makes him friendly to pick up. If you get a wall slump — most often off Bandle Dash — super is a strong cash-out. In the corner he gets a combo from his throw.
He has an unreactable overhead/low mix, but only with an assist. The timing is tight: input air down medium as early as possible and it hits overhead, forcing a real guess against your low.
Tip
A genuinely clever optimisation: when a combo is going to kill anyway, route it through moves that build badges instead of maximum damage — starting with three lights instead of a medium costs a little damage and buys badge progress. Only worth it when it is not the final round.
ADVANCED TECH
Your shrooms only disappear when you get hit. That is the detail that makes his pressure safe: if the opponent blocks a shroom it still activates and still punishes them. Protecting yourself protects your entire board.
Use the parachute to stall. When you have a lot on screen, or you are waiting on an assist cooldown, floating is a legitimate way to buy time rather than a panic button.
Pressure details. Use crouch medium to chase retreating guard. If they push block you out, Teemo can hold the slingshot and tag, handing the pressure to your partner in a better position than you left it.
Fuse choice matters more than usual. He functions on 2X Assist and Freestyle, but Double Down is comfortably his best. His S1 super skips neutral by tagging your partner in with a free mix, and his S2 super can be used multiple times in a single combo, stacking damage until you run out of meter.
TEAM COMPOSITION
Build the team around plugging his two holes: anti-air and low ground coverage.
- Anti-air assists — Warwick and Vi are strong answers for opponents who jump his darts
- Ground coverage — Jinx and Ahri help hold the floor while you keep placing traps
His own assists earn their place on any team:
- Back assist — two darts that keep the opponent grounded, letting your point character extend combos or pressure. Good for covering an unsafe option and setting up a sandwich
- Front assist — spawns a shroom that hits OTG, extending combos past where they should have ended and giving you mixups after knockdowns
- Super assist — travels full screen, skips neutral, and weaves gaps between the shrooms so you can mix between each one
Two things worth knowing: both of his assists build badge progress and are enhanced once you have the badges, so it is worth finding combo routes that use them. And his real weakness as a partner is that Teemo himself can be hit while assisting — losing him mid-setup costs you the board, so keep your point character honest.
VIDEO RESOURCES
No Teemo video breakdown on the channel yet — when one goes up it will be embedded right here. In the meantime: