
OVERVIEW
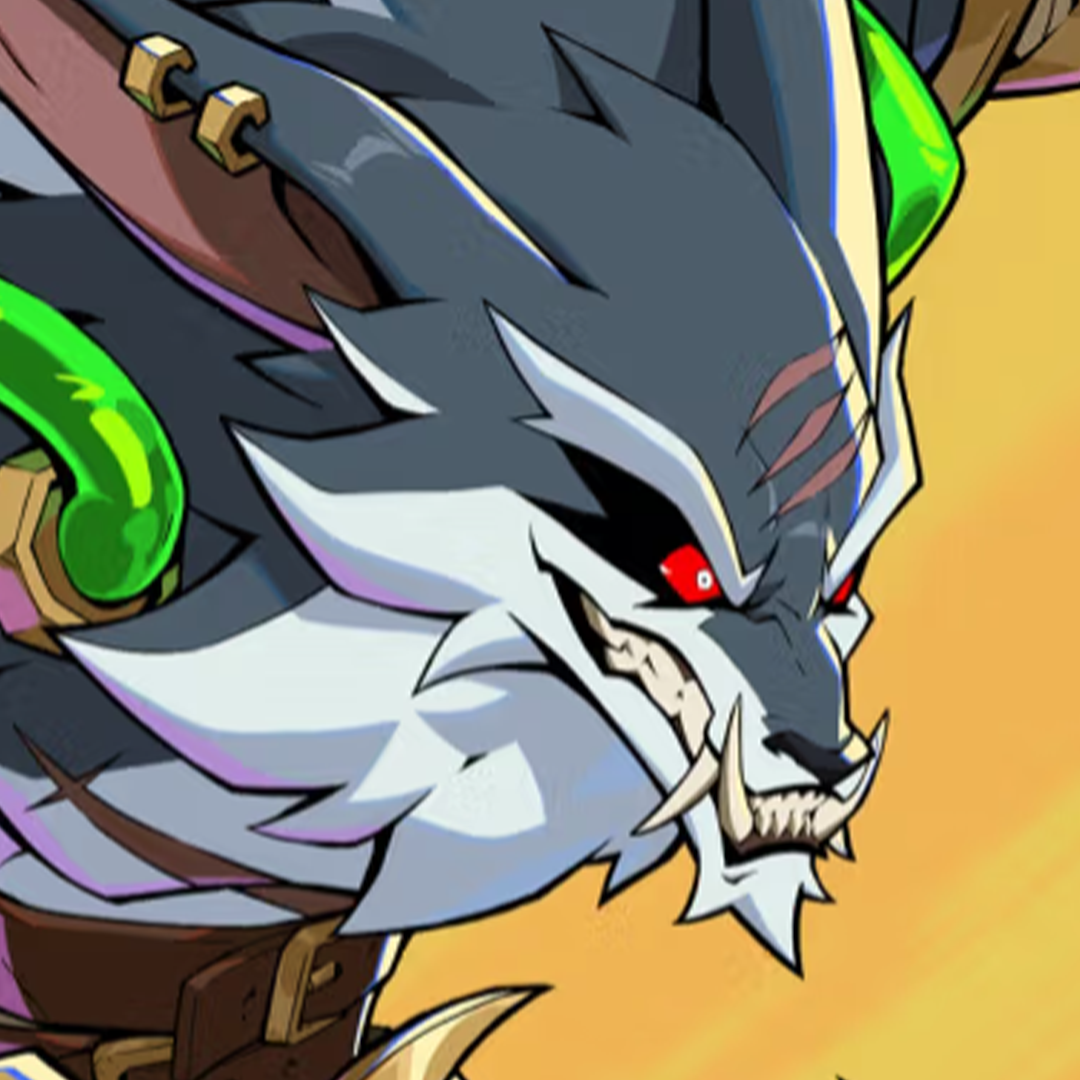
Warwick is a rushdown character with a real weakness: he has almost nothing past midscreen. No fireball, no zoning game, no way to threaten from a distance. Everything he does starts with closing that gap.
The payoff is that once he is on you, he is one of the hardest characters in the game to shake off. He sticks, he mixes, and when his install is running he converts almost anything into a full combo. Learning Warwick is really about learning two things: how to get in, and how to fill the wolf gauge as fast as possible.
Tip
If you are losing with Warwick, it is usually not your combos — it is that you spent the round at the wrong range. He has no answer at full screen, so every decision should be about getting closer.
BLOODLUST & PRIMAL LEAP
Bloodlust is the wolf icon on your side of the screen, and it is the single most important thing about the character. Special moves fill it — claw moves fill it fastest, and supers fill it too. When it is full, Warwick goes berserk and gets an install that changes how he plays:
- He can cancel special moves into other special moves
- Several specials change entirely into stronger versions
- Conversions open up that simply do not exist outside the install
It decays over time when you are not attacking, so it is not something you bank — it is something you build and immediately use.
Tip
Down S2 (Bloodseeker) is his anti-air and it fills the gauge faster than anything else that costs no meter. It does not combo on its own without an assist, but as a way to buy Bloodlust it is unmatched.
Primal Leap (down S1) is his demon flip and his main way in. Warwick flips into the air and enters a stance with three follow-ups. The stance ends the moment he lands:
- Light — Pursued. A dive at the opponent. Its frame data varies with height: the later it hits, the more likely it is plus on block. Combos
- Medium — Tear. Plus on block, ground bounces on hit, and can cross up. Your best pressure and combo follow-up
- Heavy — Snare. A command grab that catches grounded opponents. You need an assist to convert from it, but it builds a large amount of Bloodlust
Charge the down S1 and it becomes a full-screen approach. That is the tool that fixes his neutral problem — cover it with an assist and you arrive point blank with a strike/throw mix already loaded.
Two extra layers worth knowing. Warwick can hang onto walls by holding toward them, and from the wall he can perform any Primal Leap follow-up without being in the stance. And while in Bloodlust, pressing up in the air puts him into Primal Leap stance, so aerial specials cancel straight into the mix.
NEUTRAL GAME
Warwick does not play neutral so much as skip it. Your job is to pick the approach that beats what they are doing.
- Charged Primal Leap — the full-screen option. Best covered by an assist
- Held S1 (Claws of the Beast) or held forward S1 (Rage of the Beast) — both turn into a run that ignores projectiles entirely. This is your answer to zoners. The catch is that the run cannot be cancelled, so commit knowingly
- The slide — a low that carries him forward. This is the most commonly overlooked tool in his kit. Against opponents standing and blocking the flip, a low that also travels is exactly what you want — and he can OTG afterwards
- Down S2 (Bloodseeker) — anti-air, and gauge
Alternate the slide and the flip. Once they start crouching for the low, the overhead follow-up off Primal Leap starts landing, and vice versa. That two-way guess is the whole reason he gets to play the game.
CORE COMBOS
Button Legend
Forward S2 (Feral Bite) is the move that makes his combos work. It hits opponents on the ground — a true OTG — and it cancels into any special or super. Warwick’s entire combo structure is built on picking people back up off the floor, so if a route feels like it should have ended, check whether Feral Bite extends it.
In Bloodlust it improves: the opponent is no longer sent behind him, it does more damage, and it removes their gray life while healing Warwick.
S2 (Savage Slashes) is a mash special — three slashes normally, five in Bloodlust. In the air it becomes Spinning Slicer, with one follow-up normally and two in the install, both ending in a slam.
Be patient here. Warwick’s routes are genuinely less intuitive than most of the cast: you are threading OTGs, assist extensions, supers mid-combo and active tags. That complexity is also why he pairs well with almost anyone.
ADVANCED TECH
Getting to Bloodlust on purpose. Nearly every character can route Warwick into the install with one combo and a bar of meter, but the path depends on your partner. Two reliable patterns:
- If your assist travels a long way horizontally, use it after Bloodseeker so you can keep pressing
- If it does not, use Spinning Slicer after a jump combo and follow with the assist — that buys enough time to top the gauge off
Wall cling. Holding toward a wall lets him stick to it and fire off any Primal Leap follow-up from there. It is an unusual angle of attack and most opponents have no practised answer to it.
Reap of the Beast. In Bloodlust, forward S1 replaces the headbutt with a fast slash that wall bounces, and it crosses up when you are close. That crossup is a big part of why the install is scary rather than just strong.
Corner note. Outside Bloodlust, forward S1 (Rage of the Beast) can be followed up in the corner for a full combo — a rare case where the non-install version is the one you want.
TEAM COMPOSITION
Warwick has a clear need, and it makes team building straightforward: he needs help getting in and help staying in.
- A strong neutral partner is the most common answer. Someone who can control space gets Warwick to the range where he actually functions, which is the hardest part of playing him
- Another rushdown character also works well — he sets up genuinely nasty mixups and combo extensions alongside them
- Prioritise an assist that travels far horizontally, since that is what unlocks his Bloodseeker routing
His own assists are useful in return. Neutral assist is Rage of the Beast, the headbutt. Back assist is Bloodseeker, which covers air. Down assist is No Escape and is only available once Warwick is dead, which makes him a reasonable anchor pick.
His supers matter too. S2 super (No Escape) dramatically fills the gauge. His ultimate (Blood Hunt) immediately puts him into Bloodlust — and if he is already in it, it heals roughly 25% of his health instead. Knowing which of those two outcomes you are buying is worth a moment’s thought before you spend it.
VIDEO RESOURCES
No Warwick video breakdown on the channel yet — when one goes up it will be embedded right here. In the meantime: