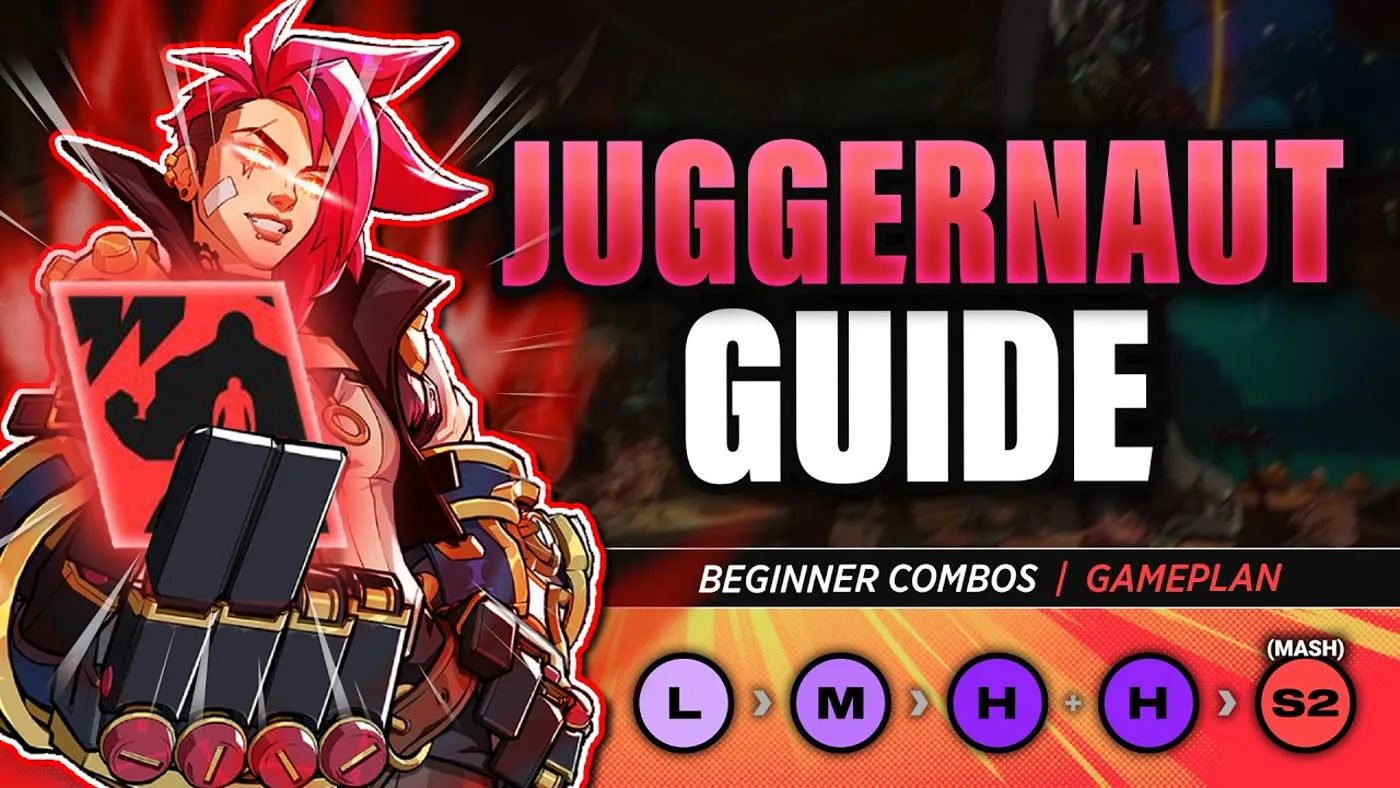
I’ll be straight with you: Juggernaut Vi is not good. It isn’t a fuse built to be viable, and if you’re picking it because you heard it’s strong, you heard wrong.
But I keep seeing Juggernaut Vi players — in my community, in ranked, everywhere — and a lot of them swear by it. So instead of telling you all to stop, here’s the useful version: if you’re going to play it, here is how to squeeze every bit of value out of it. Three things — your game plan, your flowchart, and your combos — mixed in a specific order so you can land the hit and survive defensive situations at the same time.
Master these and Juggernaut Vi goes from bad to genuinely annoying to fight. I found out the hard way at the end of the video below.
What Juggernaut actually does
Before any strategy, you need to know exactly what you signed up for. Most people running this fuse can’t list half of it.
What you give up
Your entire partner. Not “your assist is weaker” — your second character is not in the game. No assists, no tag combos, no tag launches, no partner extending your damage. You are one character for the whole match.
That is an enormous cost in a tag fighter, and it’s the entire reason this fuse isn’t competitive.
What you get back
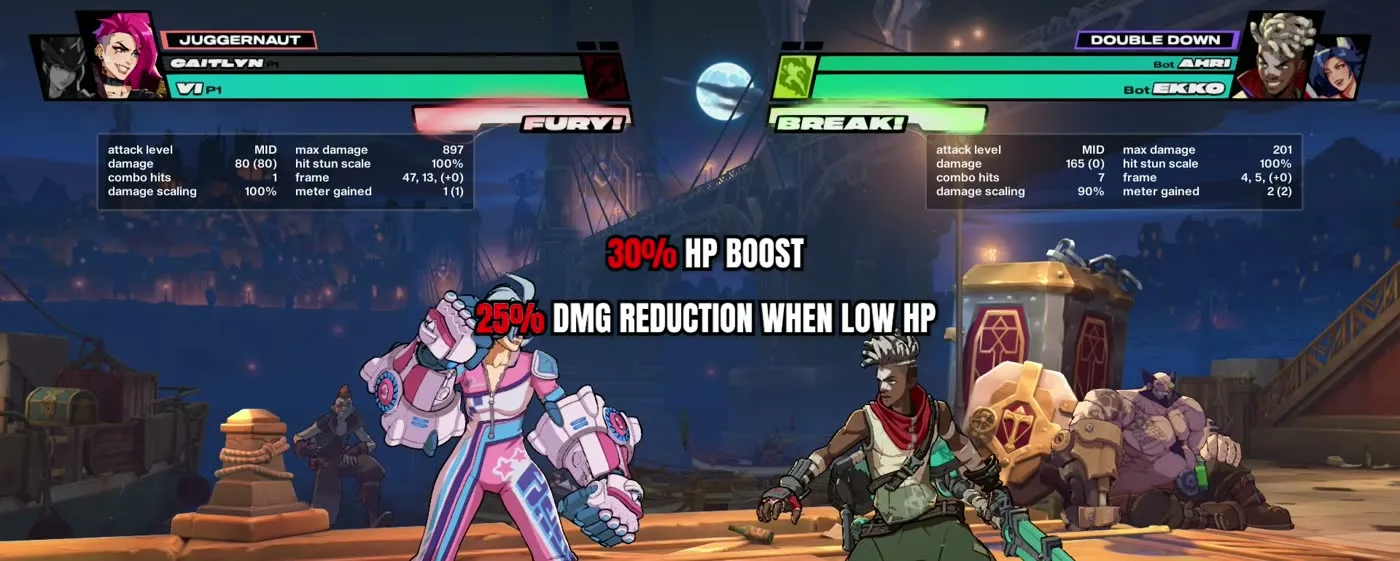
- 30% more HP
- 25% damage reduction while low on HP
- Your Fury break is available immediately at the start of the game
- You start with two bars of meter instead of one — and this persists every round, so blowing everything at the end of round one still leaves you at two bars in round two
- A five-bar maximum instead of three
- You build more meter and break on hit than any other fuse
Chaining supers — the one genuinely special thing
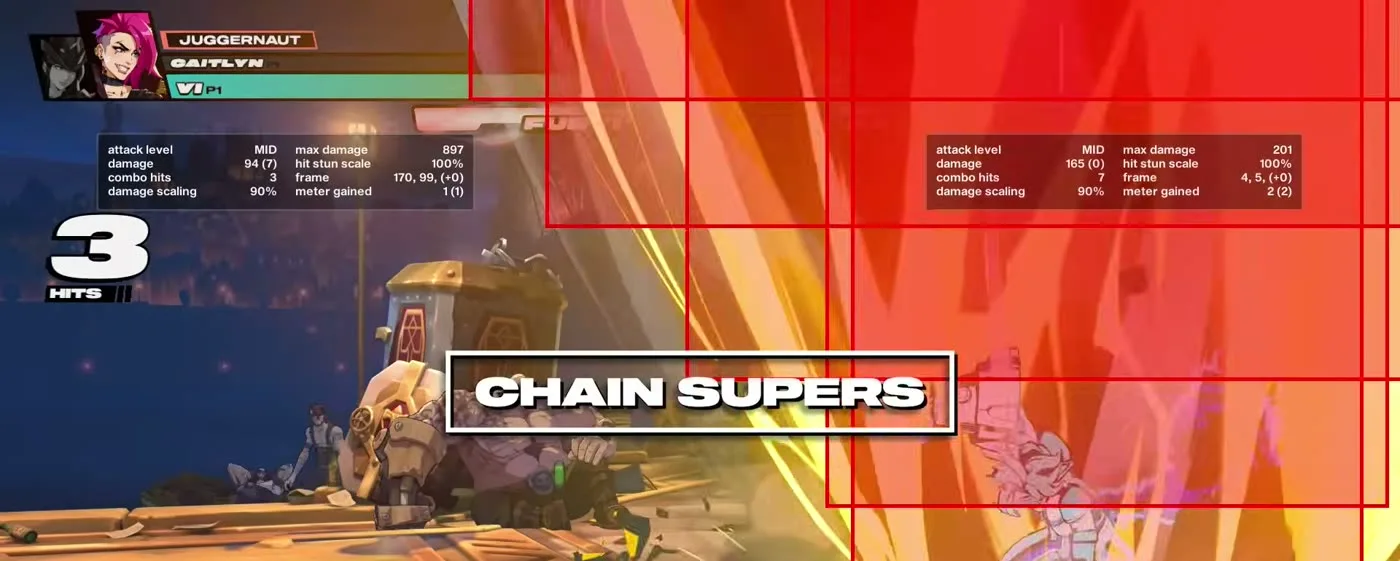
Juggernaut lets you cancel one super directly into another. S2 into S1. Or a super into a level 3 for maximum damage. Combined with the five-bar cap, this is how you dump your entire resource pool into one interaction — and it’s the mechanical reason a Juggernaut touch can kill from nowhere.
Two tools no other fuse has
Eject. Your tag button is replaced with Eject. For one bar, you force the opponent’s back character into the match. That’s a genuinely unique button and we’ll come back to how to use it.
Free push block. Normally push block is tied to your assist character. With Juggernaut you can push block without an assist, and you can spam it far faster than any other fuse. It isn’t truly free — it eats into your Fury — but it costs little enough that bursting someone off you once is fine.
Why this fuse exists: training wheels
Here’s my honest read. Juggernaut isn’t meant to be competitive — it’s meant to let you learn one character properly without also juggling assists, tags, fuse mechanics and a second character’s move list. It’s a simplification tool.
That’s a real use case, and if that’s why you’re on it, great. Play it until one character feels automatic, then move to a real fuse. What you shouldn’t do is decide this is your permanent identity and then wonder why you plateau. If you want the fuse that’s actually recommended for learning the game, that’s covered in the fuses guide.
1. Game plan: spend Fury on offense, never on defense
Fury is always present and you start the round with it. That makes it your win condition, not your safety net.
The pattern: get a hit, end your combo early rather than running your usual electric route, break into Fury, and take a Fury combo with cancels. Because you can chain supers, you end in one super with Fury still left over — and if it didn’t kill, walking up and grabbing them finishes the job. That’s close to a touch of death off one interaction.
The HP math that makes this work
This is the part people miss. A normal character dies in roughly two to three touches. With Juggernaut’s 30% HP boost, you take four to five. Your opponent literally cannot touch-of-death you — they have to reset and come at you again.
So you have more chances to play than they do. Which is exactly why you should not be spending Fury defensively unless you truly have no choice. You already have the health cushion. Spend the resource on closing rounds instead.
2. Meter management is the entire game
When your Fury and meter are gone, your only job is getting them back. Every single time you land a hit, run these four questions:
- Do I have meter?
- Do I have break?
- Do I need meter?
- Do I need break?
The answer shapes the combo you pick. Most of the time the answer is “build more,” which means ending in Limit Strike.
Limit Strike is your bread and butter
Do your rapid punches, then do them again. That’s a basic Limit Strike, and the meter it hands you — both regular meter and break — is enormous. It also leaves you an air setup on the way out: you can jump and grab them. They can tech it, but plenty of people don’t.
Wall bounces and ground bounces get you there too. Vi’s charged dash heavy gives a ground bounce. And her add-on medium — two mediums linked, which is a fairly useless move in most other contexts — side-switches and ground bounces, and gives a pile of meter if you do it twice.
The actual meter numbers
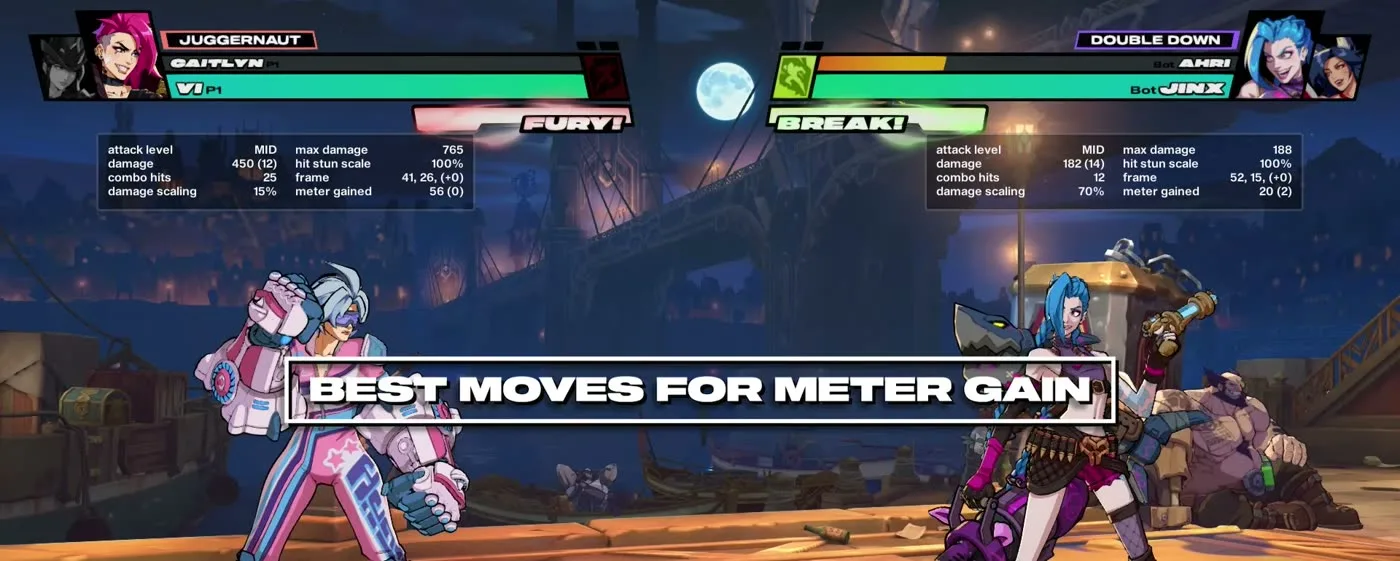
I sat in training mode and read the numbers off the status bar. Here’s what Vi actually earns:
| Move | Meter gained | Notes |
|---|---|---|
| Throw | 30 | By far the best in her kit — and that’s before the combo you get after it |
| Dash grab | 24 | Huge meter and huge damage |
| Counter | 20 | 10 for the counter hit, 10 for the punch |
| Mashed S2 | 14 | Total across the sequence |
| Add-on medium chain | 12 | 3 + 3, then 6 for the ground bounce |
| Charged heavy | 7 | Charging matters — see below |
| Regular heavy | 4 | Same button, uncharged |
| Electric charged heavy | 10 | Damage move, not a meter move |
| Electric charged medium | 8 | |
| Electric charged light | 6 |
Two things jump out. First, charging a move gives noticeably more meter than not charging it — a heavy goes from 4 to 7 just by holding it. Second, and this is the one that surprised me: throws are absurd. Thirty meter off one grab.
Which gives you a very clean rule. If your opponent is blocking a lot, do light, light, dash, grab. You get a mountain of meter, and you can follow up with supers if you have them.
Electrics are for damage, not meter
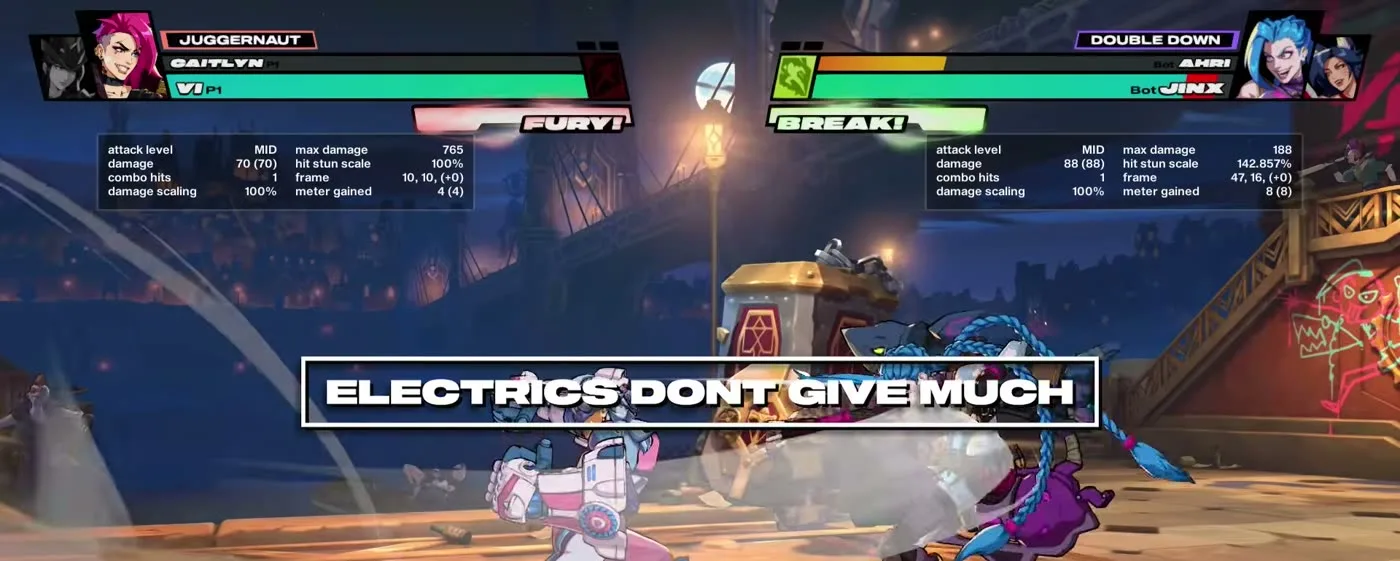
This is the counterintuitive one. Vi’s electrics feel like the advanced, high-value part of her kit — and for damage they are. For meter, they’re mediocre.
So when you’re building resources, going into a big electric route is working against yourself. And here’s the extra sting on Juggernaut specifically: electrics get much weaker without a tag partner to extend them. If you can’t do them reliably yet, genuinely don’t stress about it on this fuse.
Building meter while defending
Two things most people never use:
- Retreating guard on multi-hitting moves. Plain-blocking an Ekko super earns you almost nothing. Retreating guard it and you get meter for every hit. Ekko’s super, Jinx’s minigun — these become free resources instead of a bad situation.
- Parry. It costs a bar, but a successful parry refunds it and pays you on top — I got nearly a full bar back off one. Miss it and the bar is gone, so this one has a real failure cost.
Retreating guard into a parry is close to half a bar out of a situation where you were purely on defense. Retreating guards are your best friend on this fuse.
3. Eject: your weird unique button
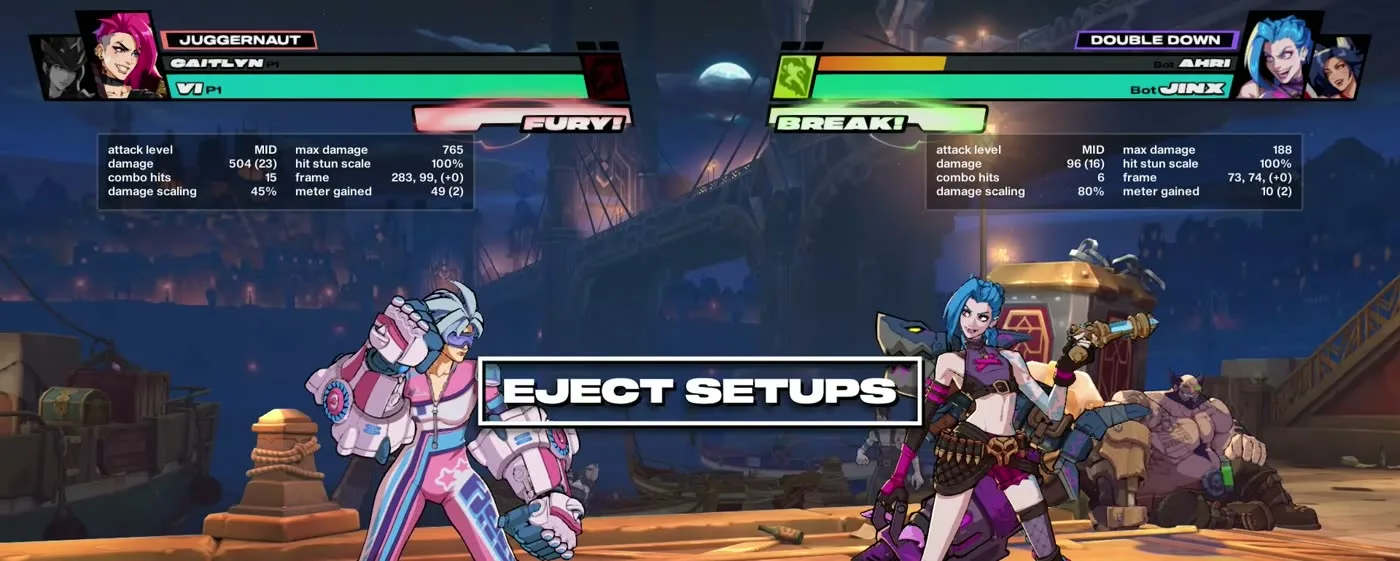
One bar, and their back character is forced in. The use case is specific: only do it when the character in the back is low on health. They swapped out to protect someone — Eject drags them back in so you can finish the job instead of grinding through the healthy one.
Be aware this got patched
You used to be able to grab them out of the air on the way in. That’s gone. They now land normally, so if you’re following an old guide, that setup no longer exists.
What still works is a simple mixup as they land. My preferred version: back dash once, dash into them, press light — it auto-corrects to the other side, so it crosses up. From there you can go into electric medium and take it to your charged ground bounce, or just confirm into a Limit Strike ending like we talked about.
Or skip the clever version entirely and just grab them immediately. You’re in control, most people have never seen Eject used properly, and a grab is worth 30 meter anyway.
The flowchart
All of the above collapses into one decision tree you can run in real time.
- Is Fury up? → Yes. Go for an easy grab setup or a short combo, pop Fury offensively, and convert into a big damage combo. Then take the setup: low-high, dash up and grab. Low-elo players panic-jump here, so if they jump, jump and grab them. That kills.
- Is Fury up? → No. Every hit ends in Limit Strike. Keep it simple. Build meter and break as often as possible.
- No Fury but lots of meter? Ask whether the combo kills. If it does, spend everything and kill. If it doesn’t, don’t bother with Limit Strike — go for the Eject as a reset instead.
When to use super — the simplest rule on this page
If it kills, use it. If it doesn’t, save it. That’s the whole rule.
In practice: if I’m ending a combo and I know two bars won’t finish them, I don’t spend them. I route into a Limit Strike ending instead, which puts them in the corner and pays me meter. Now I have three bars, I go for the grab, and I get a double super that does far more than the two bars would have done a moment earlier.
Combos: keep them boring
Two shapes exist on this fuse. Either a basic combo that you then extend by activating Fury, or a combo you’re already running while Fury is active. Realistically Fury is usually already up before you get the hit, since you start every round with it.
For beginners, honestly: end in mashed rapid punches. That’s it. You gain about half a bar, you get the Limit Strike, you get a setup, and they’re in the corner. That is a completely acceptable Juggernaut combo and it does the job.
If you’re already comfortable with electrics, use them — just remember you’re doing it for damage, and end in another mash for the Limit Strike so you still get paid. For the deeper Fury routes, my dedicated Vi Fury combos guide goes through them properly, and you’ll want it for this fuse.
Honest caveats
- This fuse is still bad. Nothing here makes Juggernaut competitively correct. It makes it optimal within its own limits. Losing your partner in a tag fighter is not a cost you can strategize away.
- Vi loses a lot without a partner. No tag launches means her damage ceiling drops hard, and her electrics — normally her payoff — get noticeably weaker with nobody to extend them.
- The meter numbers are for Vi on this patch. The method transfers to any character: open training mode, read “meter gained” in the status panel, and find your own best moves. The specific values will drift.
- Eject setups have already been patched once. Expect it to happen again.
- Push block isn’t actually free. It’s Fury, just cheaply. Spam it too much and you’ll find your win condition gone when you need it.
And the honest ending: after recording all of this, I ran into a Juggernaut Vi player in my high-elo games and he beat me. He did everything on this list — aggressive Fury usage, never saving it defensively, cancelling supers, using Fury to cancel his block strings, touch of death when it counted. That’s the proof the plan works. It’s also proof I should watch my own videos.
What to practice this week
- Read your own meter numbers. Ten minutes in training mode with the status panel on. Find your three best meter moves.
- Limit Strike endings, twenty reps. Rapid punches into rapid punches until it’s the default way your combos finish.
- Light, light, dash, grab. Your answer to a blocking opponent, and your best meter move in one sequence.
- Retreating guard drills. Record a multi-hit super and practice retreat-guarding the whole thing. Watch the meter climb.
- One Fury touch-of-death route. Short combo, break into Fury, chain supers. Just one, until it’s automatic.
If you want the mixups to actually land the hit in the first place, that’s a different problem and I covered it in 7 Vi pressure tools. And if you’re not sure whether you should be on this fuse at all yet, what to practice at every rank will tell you.
The short version
- Juggernaut is training wheels — no partner at all, in exchange for 30% HP, damage reduction when low, instant Fury, two starting bars, a five-bar cap, and more meter on hit.
- You can chain supers. S2 into S1, or super into level 3. No other fuse can.
- Spend Fury offensively, never defensively. The 30% HP means they need four to five touches instead of two to three — you already have the cushion.
- Throws give 30 meter. Dash grab gives 24. Electrics give 6–10. Grab far more than you think you should.
- Charging a move gives more meter than not charging it — heavy goes 4 → 7.
- End in Limit Strike whenever the combo won’t kill. Meter, break, corner and a setup, all at once.
- Retreating guard multi-hit moves and parry for meter — defense can pay you.
- Eject only when their back character is low. The air grab was patched out; back dash, dash in, light for the cross-up, or just grab.
- Super rule: if it kills, use it. If not, save it.
Ready to take the training wheels off?
The point of Juggernaut is to leave it eventually. If you’ve got one character feeling automatic and you want help building a real team around them — picking a partner who covers your weaknesses, learning assists and tag combos — that’s exactly what I do in one-on-one sessions. Book one here.
Or come argue with me about Juggernaut in the 2XKO Jungle Discord — genuinely, if you’re winning with it I want to see the clips. You can also check where Vi sits right now on the tier list, or read the full Vi guide for her complete toolkit.